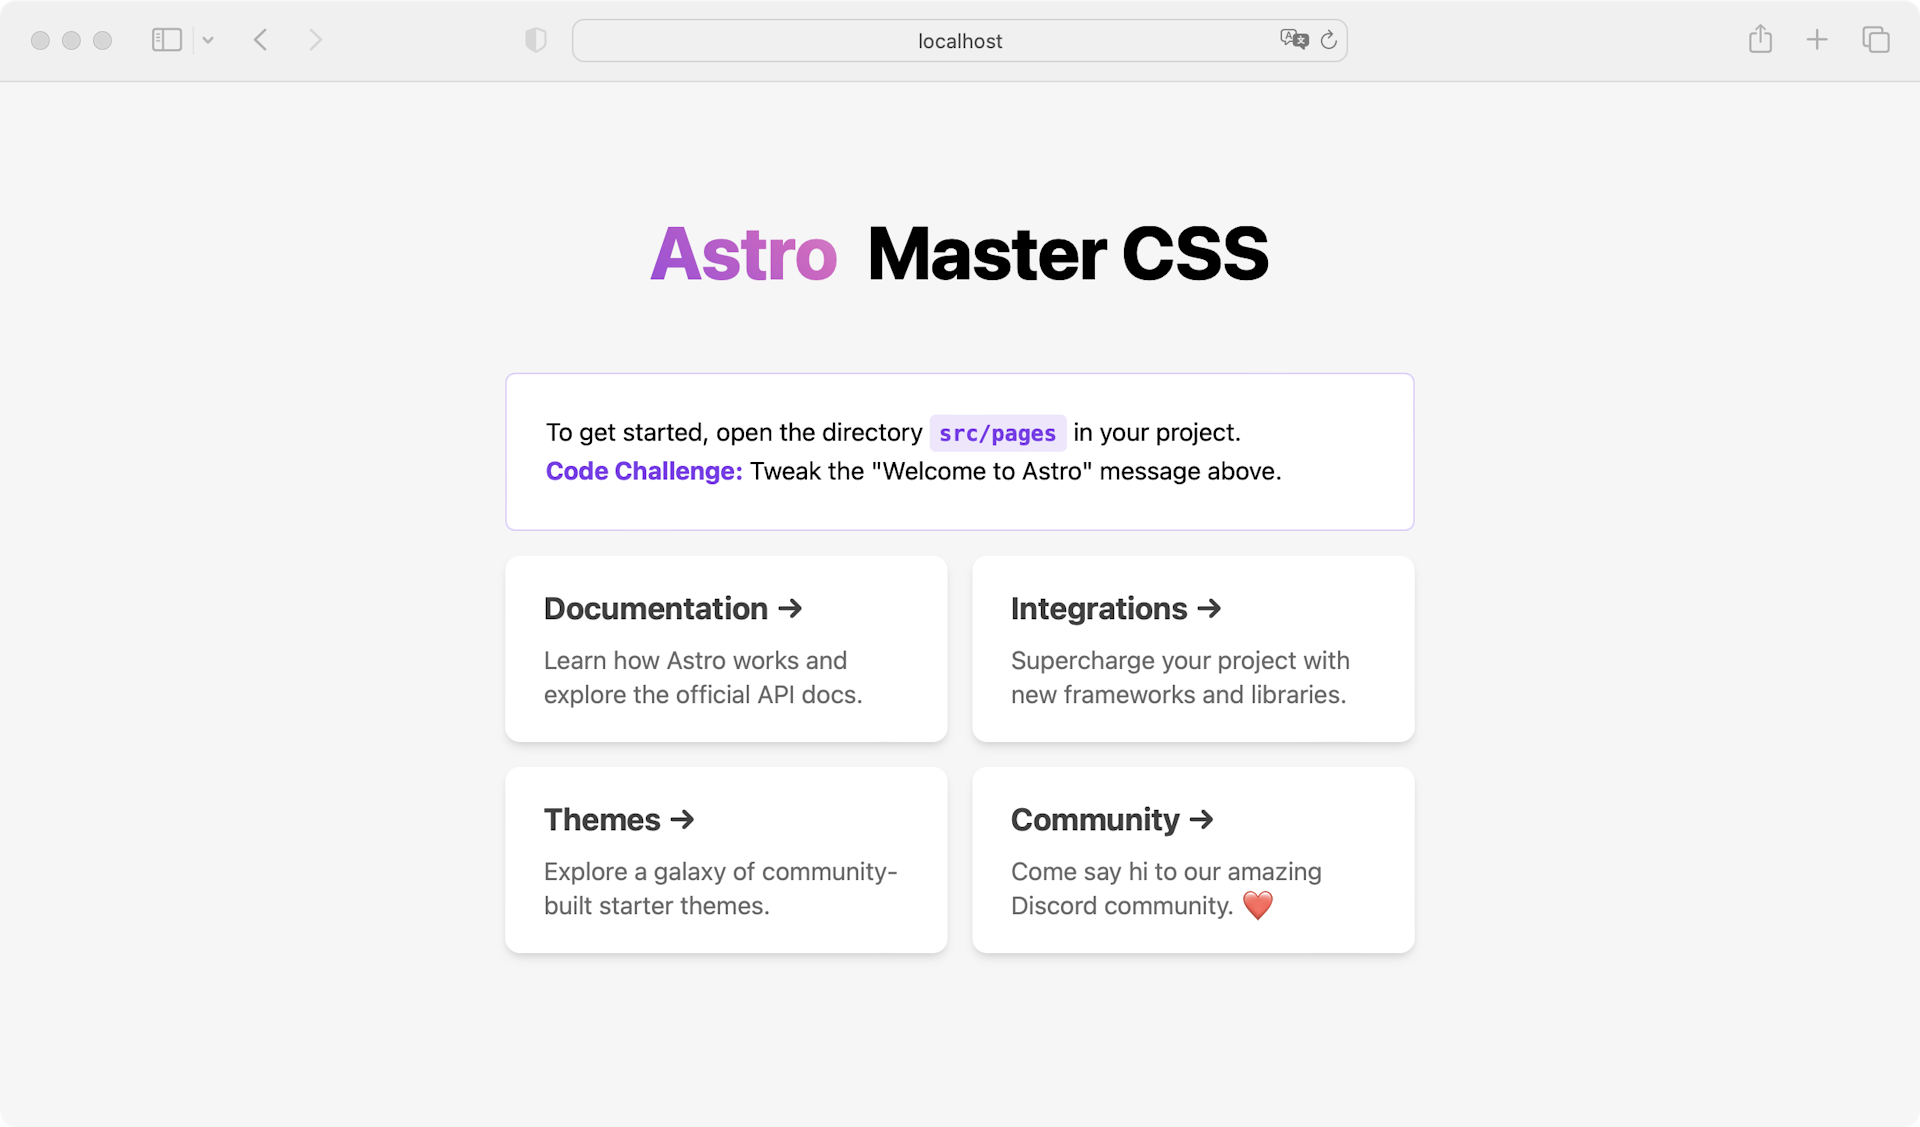
Set up Master CSS in Astro

Guide to setting up Master CSS in your Astro project.
Master CSS Runtime Rendering observes changes in DOM class names at browser runtime, generates corresponding CSS rules, and injects them into the running style sheet.
Fixed style cost
All features work out of the box with ~17KB transfer cost
Fully automatic
Capture any program-generated class names
CSS lifecycle
Generated on-demand and frees memory when not in use
Quick start
Clone the example
Copy-paste the commands to quickly start using the https://astro.rr.rc.css.master.co example.
You can skip all installation steps.
npm create @master/css@rc project --example astro-with-runtime-renderingcd projectnpm run devInstallation
Create a project
If you don't have a Astro project, create one first. It's recommended to refer to Getting Started - Astro.
npm create astro@latest projectcd projectInitialize configuration file
Run npm create @master/css@rc to create a configuration file master.css.ts.
npm create @master/css@rcInstall Master CSS
Install Master CSS into your project via package managers.
npm install @master/css-runtime@rcSet up CSS runtime engine
Modify src/layouts/Layout.astro:
- Import your custom configuration
master.css.ts - Initialize the runtime engine
- Add
display: noneto<html>to avoid FOUC
<html style="display: none"> <head> … <script> import { initCSSRuntime } from "@master/css"; import config from "../../master.css"; initCSSRuntime(config); </script> </head> …<html>Launch server
Run npm run dev to start your Astro development server
npm run devStart using Master CSS
Now style your first element using Master CSS syntax!
---import Layout from '../layouts/Layout.astro';---<Layout title="Welcome to Astro."> <main> <h1 class="font:40 font:heavy italic m:12x text:center">Hello World</h1> </main></Layout>Open your browser to watch the changes.
